Wednesday, December 29, 2010

The Night Before Christmas

I hope you all had a wonderful holiday season!

I had such a great Christmas. I can't wait to show you some of the wonderful presents I got. And guess what - it snowed here today, too! Finally I'll be able to go out sledding!

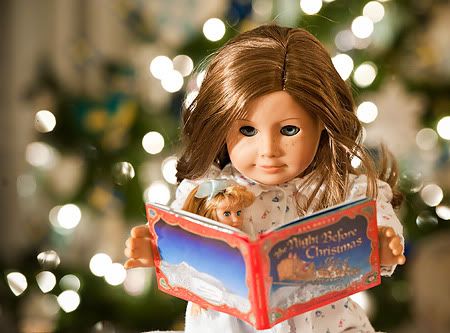
Christmas Eve is such an exciting time for me. We always read The Night Before Christmas before we snuggle up in our beds ourselves. And then I have the hardest time falling asleep because I'm so excited!


Do you have any fun Christmas traditions?

Sunday, December 19, 2010

Making Gingerbread Houses!

Today Caitlin and I made gingerbread houses! Caitlin loves to bake, and she's really good at it.

Some good friends of mine in Colorado gave me The (Mini) Gingerbread House Kit. It came with a wonderful book and cookie cutters to get the job done.

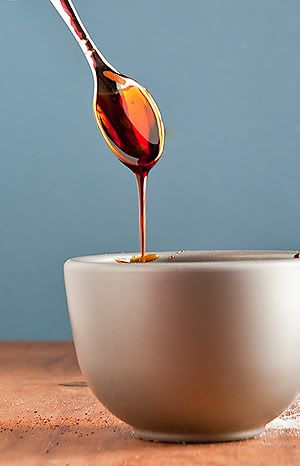
We made our gingerbread using the recipe in The (Mini) Gingerbread House Book. We used sugar, flour, molasses, ginger, nutmeg, cinnamon, shortening, baking soda, and salt! A lot of ingredients, but they made the yummiest gingerbread!


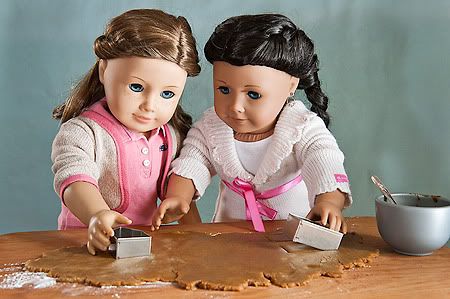
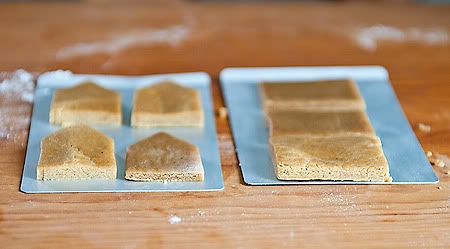
We rolled out our dough, and cut out our houses. Each house needs a front, back, two side pieces, and two pieces for the roof. We dusted our cookie cutters in flour so that they wouldn't stick to the dough. It makes it a lot easier.


Ready to go into the oven!


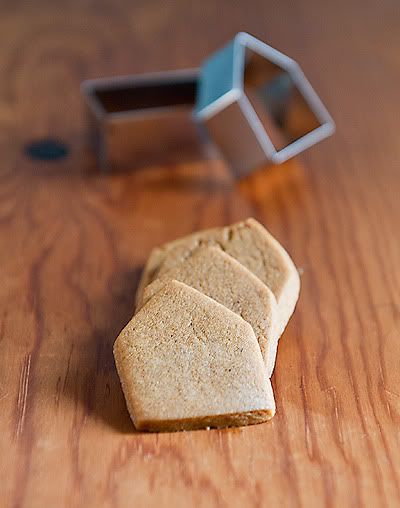
They don't take very long to bake. You know they're done when they are not too soft and they look golden brown.


Then we built our houses using sugar we melted over the stove. You get it really sticky, then dip one side of the cookie into it. It glues them together really fast. But be careful not to get the sugar too hot or let it burn!

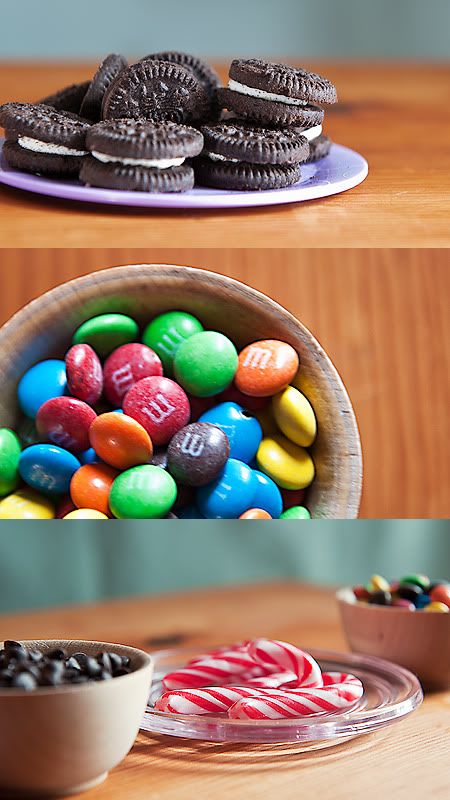
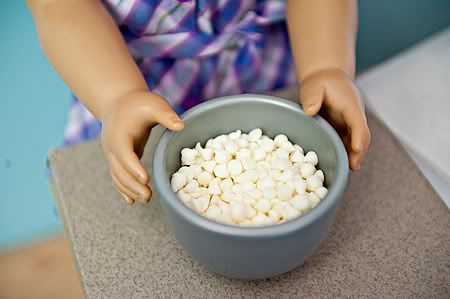
While we waited for our houses to cool, we got our decorations ready.


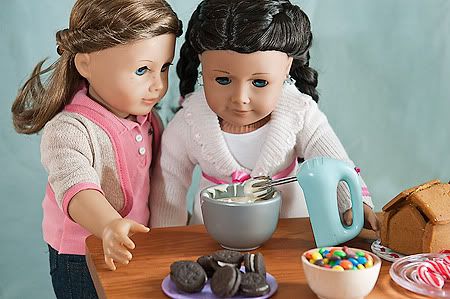
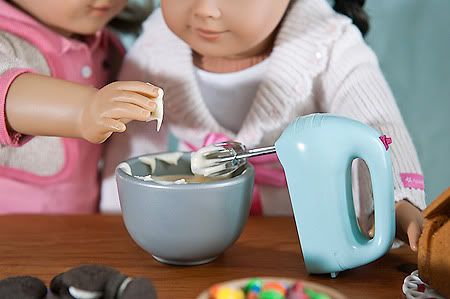
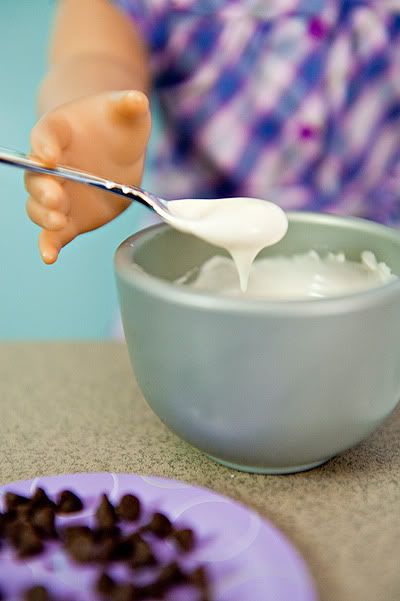
And we made frosting.


For gingerbread houses, the frosting needs to be really stiff. It's good if it will form a little icicle when you put some on your finger.


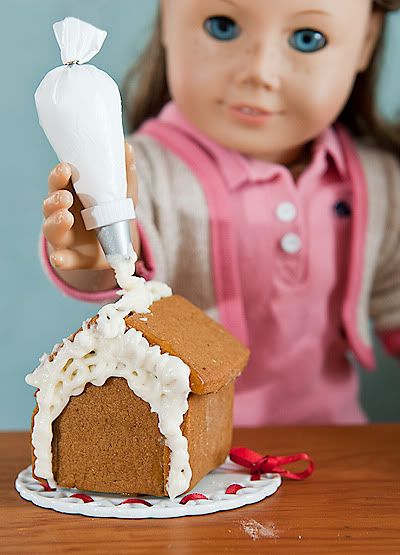
Time to decorate!!
I love big swirls of frosting!


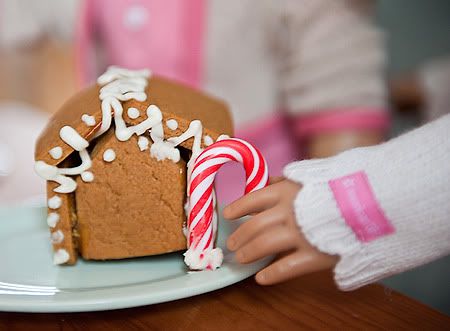
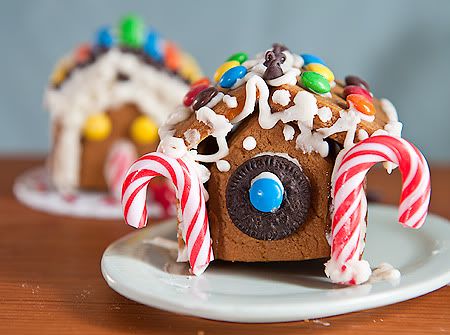
Caitlin put candy canes on each side of her house, sort of like a candy cane castle.


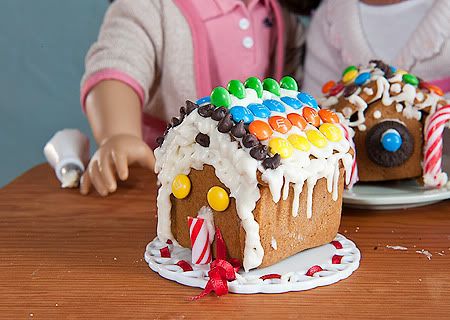
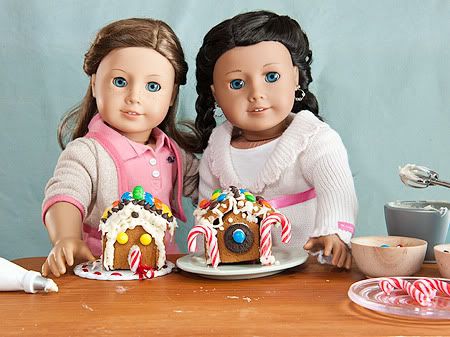
Aren't our finished houses fun? With so many yummy things on them, I just want to eat it! But we're going to save them to be centerpieces at our Christmas party.

This is my house, with an m&m roof.


And Caitlin's house, with an oreo door.


Have you made a gingerbread houses yet this year?

Sunday, December 5, 2010

Haul out the Holly!

Put up the tree before my spirit falls again!

Just kidding...my spirit isn't about to fall! Christmastime is one of my favorite times of the whole year!

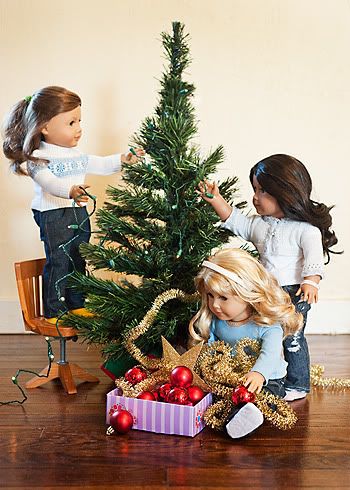
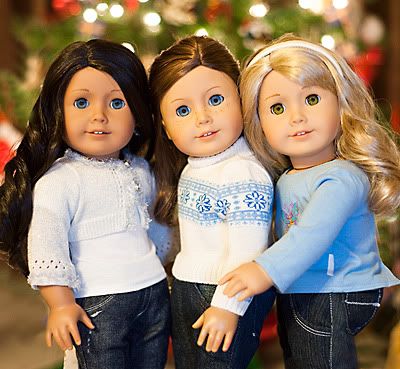
My friend Caitlin is visiting from Nevada right now, so she helped me set up the tree. Lanie came over too, so we had a little tree trimming party.

Caitlin helped me tackle the lights while Lanie got out the trimmings. Isn't it crazy how there is always one light that just magically goes out every year?


Caitlin asked me if she could put up the star. I wanted to say no, because that is so fun and I love putting it up. But I thought that because she is a guest I should let her do the really fun things. I want her to enjoy her visit with me!

I need a little Christmas! Right this very minute!
I have so many fun things planned during December. I can't wait to share them all with you!

Sunday, October 31, 2010

Happy Halloween!!!

Happy Halloween, everyone! I love Halloween.

In fact, I have a great Halloween joke to share.
How do you fix a jack-o-lantern?
I'll tell you at the bottom of this post!

This morning we found the most sincere pumpkin patch we could to pick out a pumpkin to carve. There were so many pumpkins there, all shapes and sizes! Some were so big I couldn't carry them!
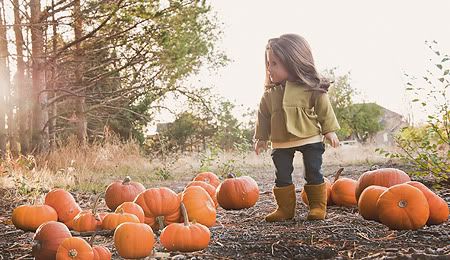


I found the most perfect pumpkin to carve up. Nice and round!
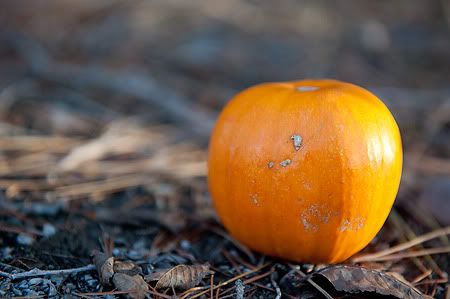


I tried to carry it myself but it was a little bit too big. I had to just sit by and guard it until my dad came to carry it back to the car.

Then we went home and turned on It's the Great Pumpkin, Charlie Brown to watch while I carved it up. First I took off the top and pulled out all the mushy insides. Then I drew on the face I wanted to carve.
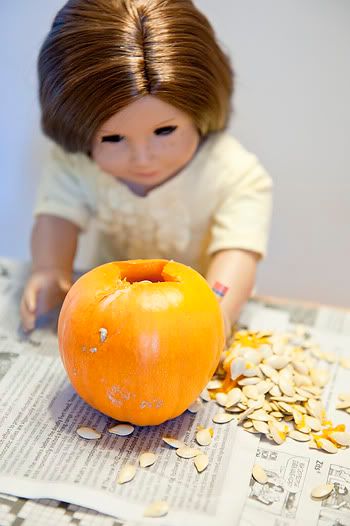


Next I cut out the pieces really carefully with a sharp knife.
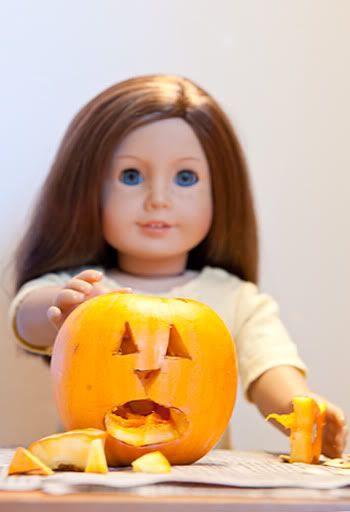


It looks pretty good, don't you think? But I have even bigger plans for it...

I took it outside and then I made it into...
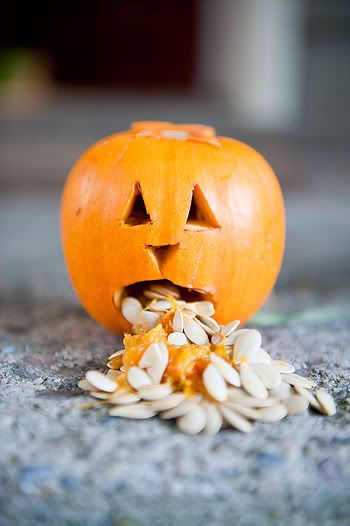


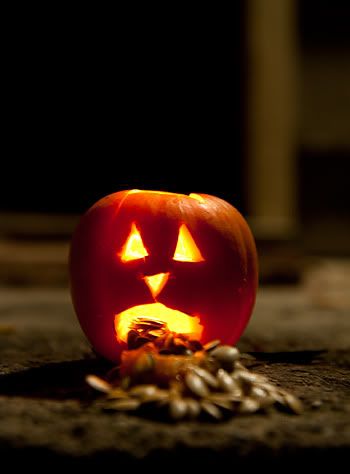
A puking pumpkin!!!

My mom said "Ew" and said I was crazy. But my dad thought it was really funny, and so do I! It's sure different from any other pumpkins on our street!
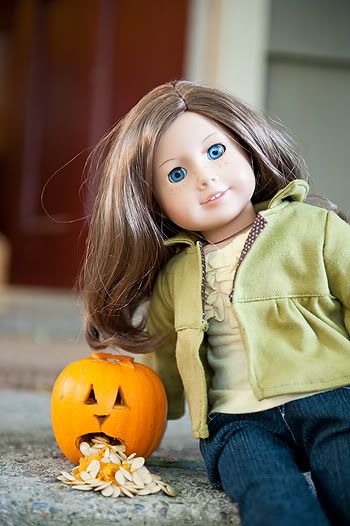


Then it was time to go get dressed up and ready to go trick-or-treating!!
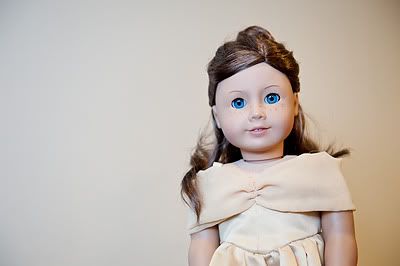


My Belle costume is so pretty. I took a picture inside, because I had to wear a coat over it when I went out - it was too cold! I'm pretty sure Belle wouldn't ever wear a coat over her pretty dress.

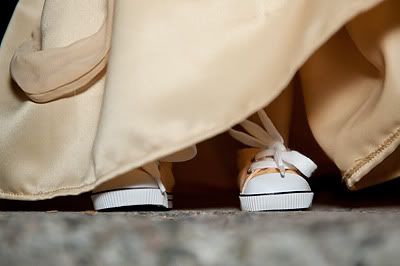
She probably wouldn't wear sneakers underneath either...


Once it got dark we lit the puking jack-o-lantern!


Then I set off to meet up with friends and collect as much candy as we could.
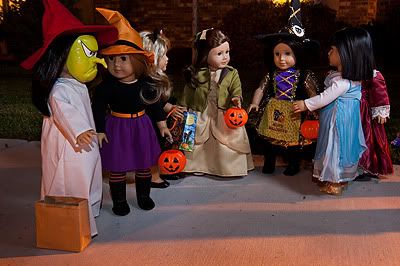


It was fun to see all of their neat costumes, and to compare our treats.
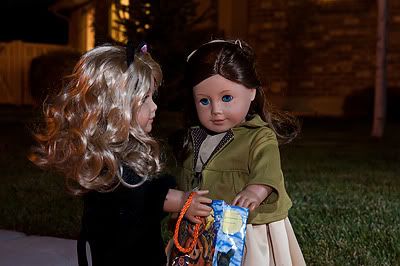


We had so much fun. Tricks or treats only comes once a year, and I can't wait until next October!
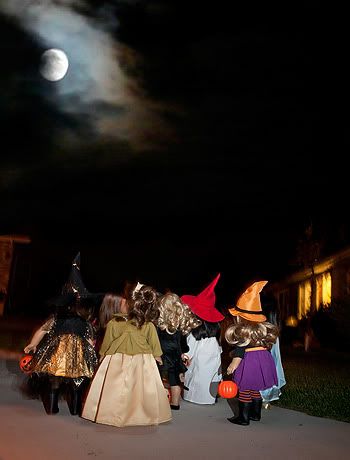


Ready for the answer to the joke?
How do you fix a jack-o-lantern?
With a pumpkin patch!!

Happy Halloween!
Tuesday, October 12, 2010

Ghost Suckers!

Only 1 day left to vote on my Halloween costume! Vote on the right side of my blog!

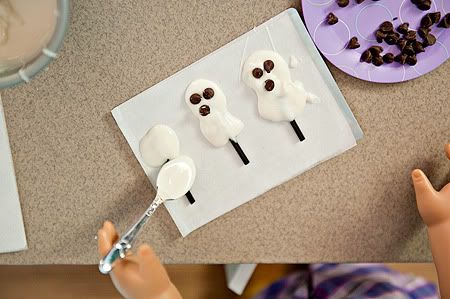
Today I made ghost suckers!! They are made from white chocolate and are super delicious. I'll show you all how I made them, so you can make them too!

Ghost suckers are easy, and you don't need a lot of supplies.

First, put some wax paper down on your cookie sheets. This will make your clean up a lot easier.


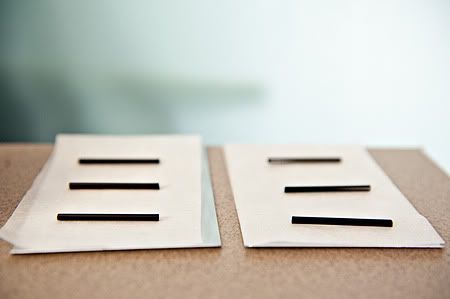
Then lay out your sucker sticks. I used black sucker sticks because it's almost Halloween! But if you don't have sucker sticks, you could even use Popsicle sticks.
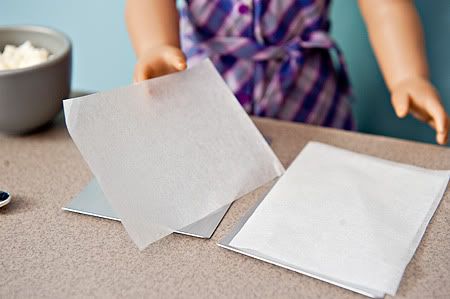


Set those aside for now.

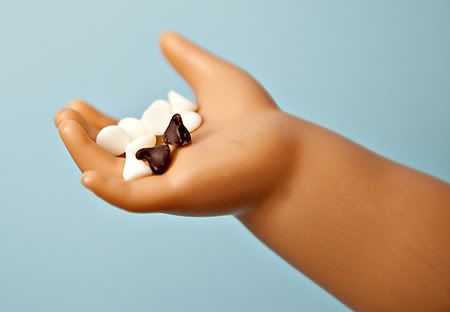
The only other ingredients you need are chocolate chips! You need lots of white chocolate chips, and a few milk chocolate chips.


Put your white chocolate chips in a bowl. Make sure it's a microwave safe bowl!


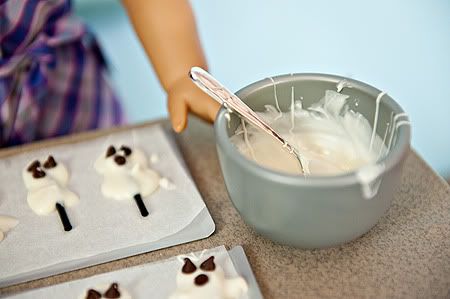
Put them in your microwave for 30 seconds, take them out, and stir. If they aren't melted yet, microwave them for 20 seconds more, and stir. Keep doing this until they are just melted - they probably won't look melted until you stir them up!


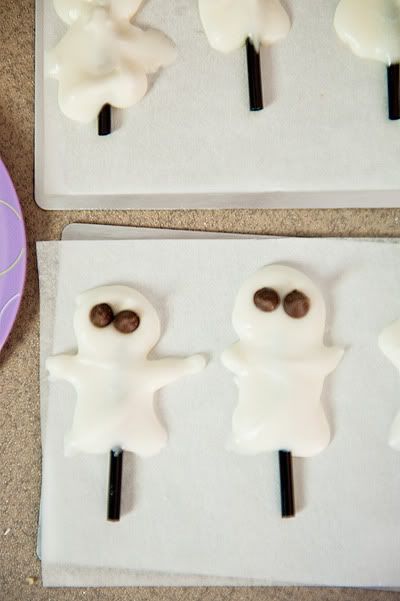
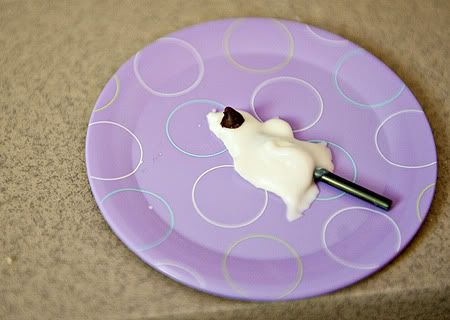
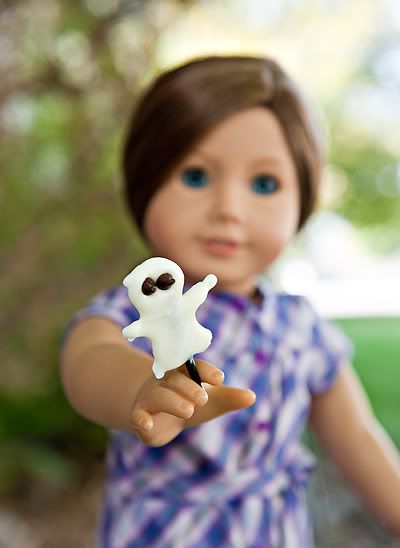
Now that your chocolate is melted, start shaping your ghosties. Spoon out the chocolate around each sucker stick in the shape of a ghost. The best part is they don't need to be perfect - every ghost is different! After you've shaped them, push two milk chocolate chips in for eyes.


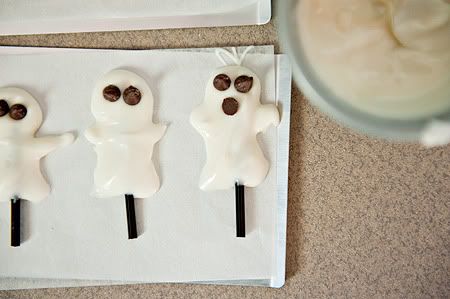
I gave some ghosts arms.


And I gave other ghosts mouths with a third milk chocolate chip.


Aren't they funny looking? They make me laugh. They also make me start singing the Disney song about grim grinning ghosts who come out to socialize!


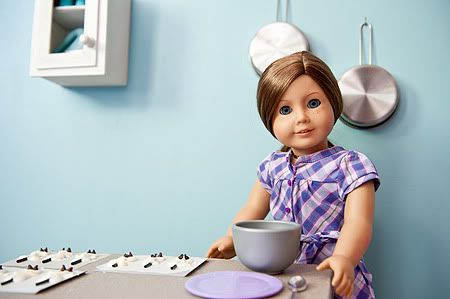
Now it's time to wait for them to harden. In the meantime, I should probably clean my dirty dishes...


Washing dishes isn't my favorite thing to do, but it sure is nice to help the time pass! Time to check if they are hard enough! You'll know they're ready when they pop right up off that wax paper and look just like a sucker.


Mmmmm! So delicious!


Happy Halloween!!! I'm going out into the crisp fall air with my grim grinning ghost to socialize! If you make ghost suckers too, let me know!


Don't forget to vote on my Halloween costume!

Saturday, October 2, 2010

My Herbarium!

It's October! Can you believe it? I love October, fall, and Halloween! I have so many fun things I'm planning to do this month, and I will share them all with you.
But first, I have to decide what to be for Halloween. Will you help me? I have it narrowed down to two choices. I'm either going to be Hermione Granger, from Harry Potter; or Belle from Beauty and the Beast. Vote and let me know which one you think I should dress up as over on the right side of my blog. I'll leave the poll open until Wednesday, October 13th, when I'll tally up the votes and see which costume I should start making!

This week I've been working hard putting together my herbarium! Remember all of those beautiful flowers I gathered and pressed over the summer? They are all finished being pressed now, and ready to be displayed.

Making my herbarium was easy. I'll show you what I did, so you can make one too!

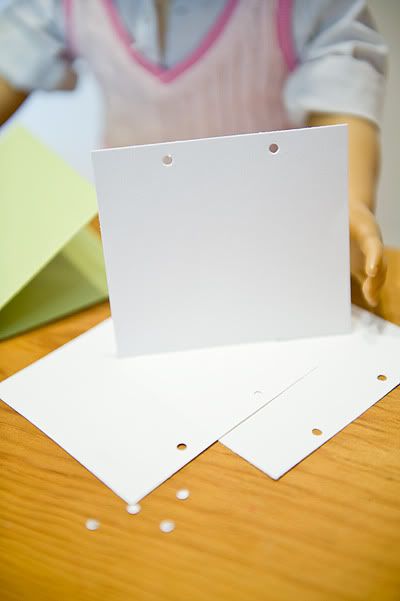
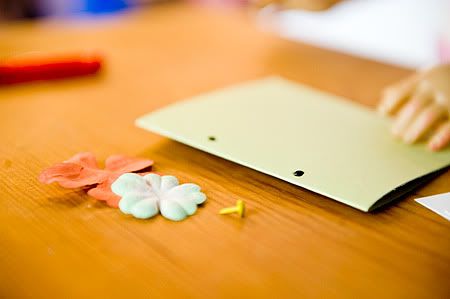
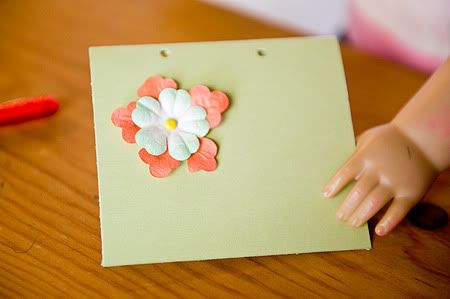
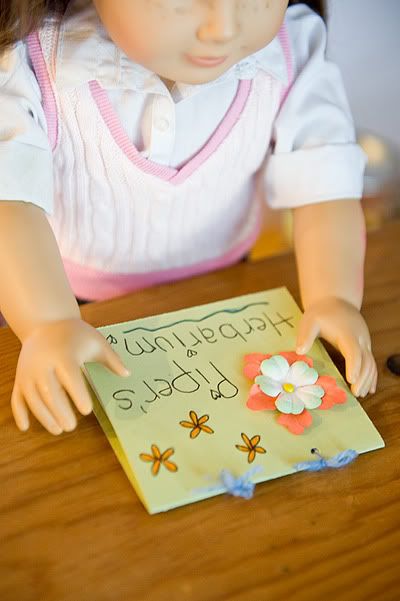
First I gathered together enough white paper all cut to the same size to be the pages of my book. I punched holes in the same place on the top of every page. I got a piece of green cardstock to be the cover of my book, and folded it in half so it could be both the front and back covers. I punched holes in that, too.


Then I gathered together some things to decorate my cover with.


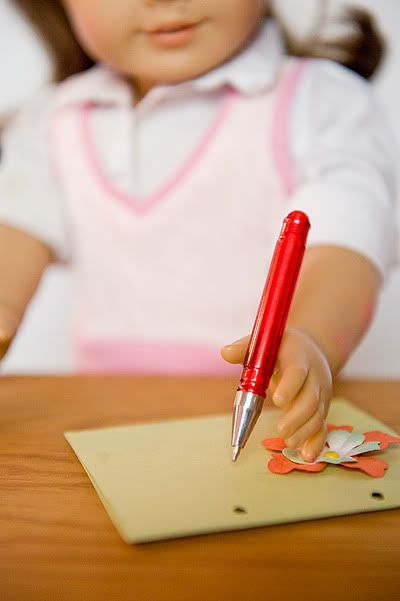
After I attached my paper flowers to the cover, I wrote my name on it so everyone would know it was mine.


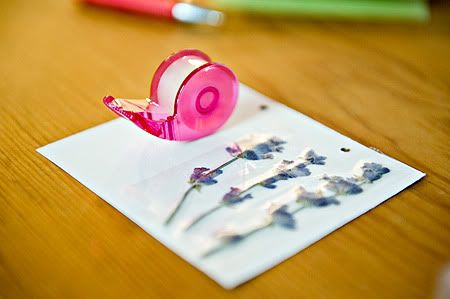
Then I got out my flowers. Be careful with them - you don't want them to break! I used clear tape to put them on the paper. Try to arrange them so you can see the different parts of the flower.


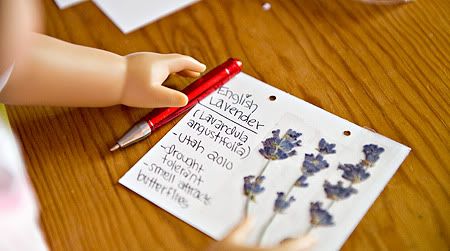
Write about the flower on the paper. It's important to include the common name of the flower as well as the Latin name. You can get books from the library to help you identify your flowers, or look them up on the internet. I put down where I found the flower, as well as when it was. You can also include anything interesting that you learn about the flower. For example, when I was looking up the lavender, I found that it does well even without a lot of rain. I thought this was interesting because I collected that lavender in the middle of the summer when it was so hot here!


Then put all of your pages together and use yarn to tie the book together. This way I can add more pages later!


If you make a herbarium too, let me know! I'd love to see it. Don't forget to vote in my poll for what I should be for Halloween!
Saturday, September 11, 2010

Rollerblading!
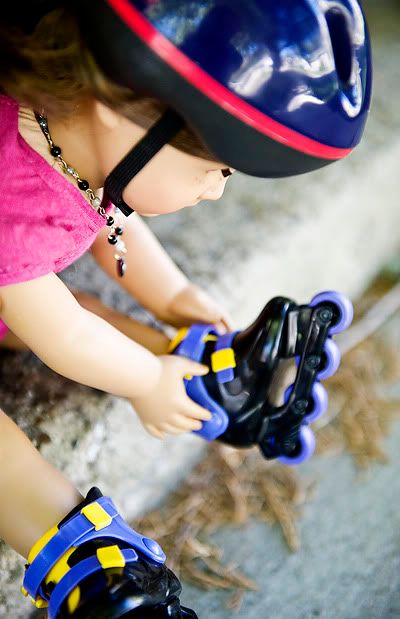
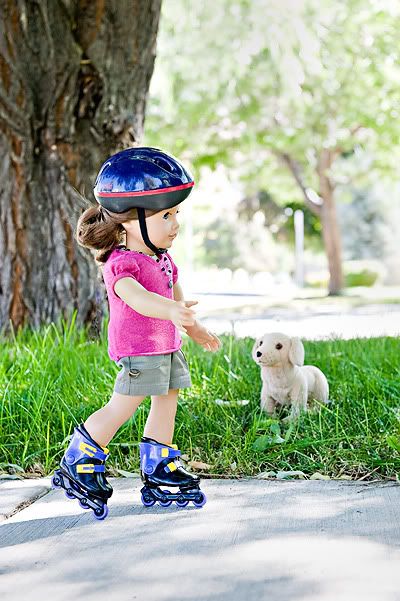
Even though summer is over and school has started, it's still pretty warm here. Today after I finished cleaning my room and doing my other chores, I pulled out my roller blades. They were in the back of the closet and sort of dusty because I haven't used them in a long time.
My mom told me to wear a helmet, but I didn't really want to because I think it makes me look a little bit silly. But safety comes before fashion, I guess.


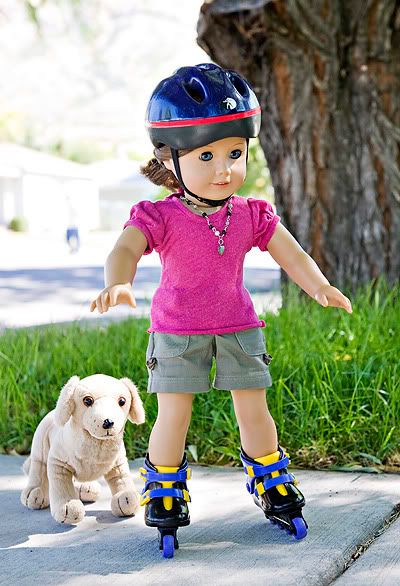
I was a little wobbly when I started. It took a few tries to really get my balance.


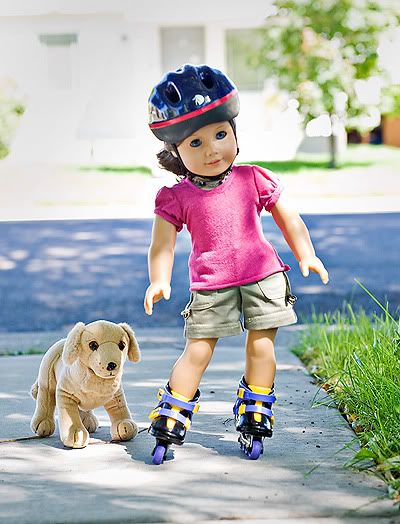
At first that funny Sunny would run behind and chase after me.


But after a little while he got worn out, and sat on the lawn instead. He barked whenever I came by.


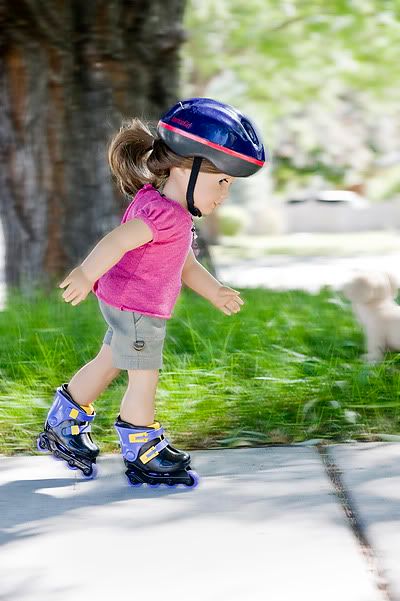
I started going faster and faster. The wind felt cold on my face, and still I went faster!


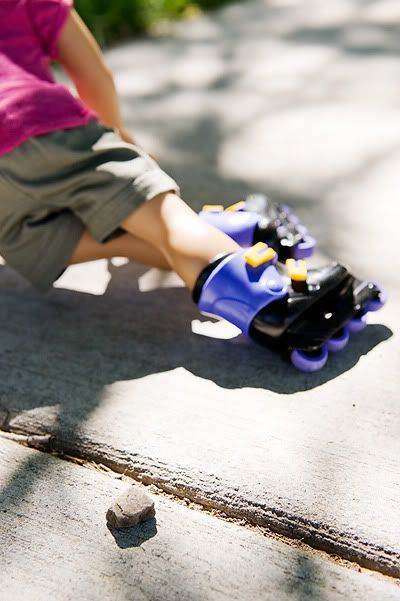
I was going so fast I didn't even see the rock.


I fell down pretty hard, and both of my knees got scraped up a little bit. My left elbow did, too. It stung, and I could feel tears starting in my eyes.

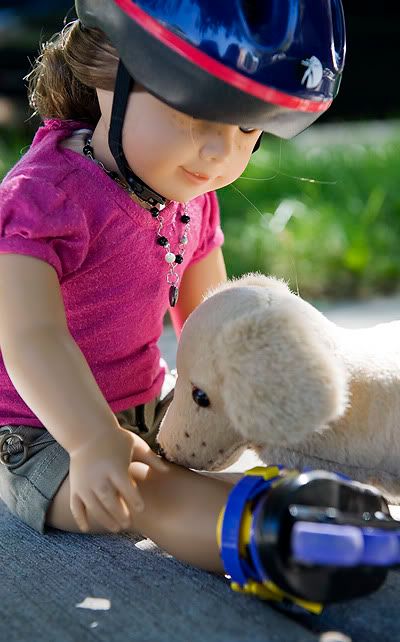
But then Sunny came and comforted me. He knew just where it hurt, and gave me doggy kisses to make it feel better.


I'm glad I wore a helmet after all! Sunny helped me feel better and I got back up and skated back to the house to get my knees washed off.